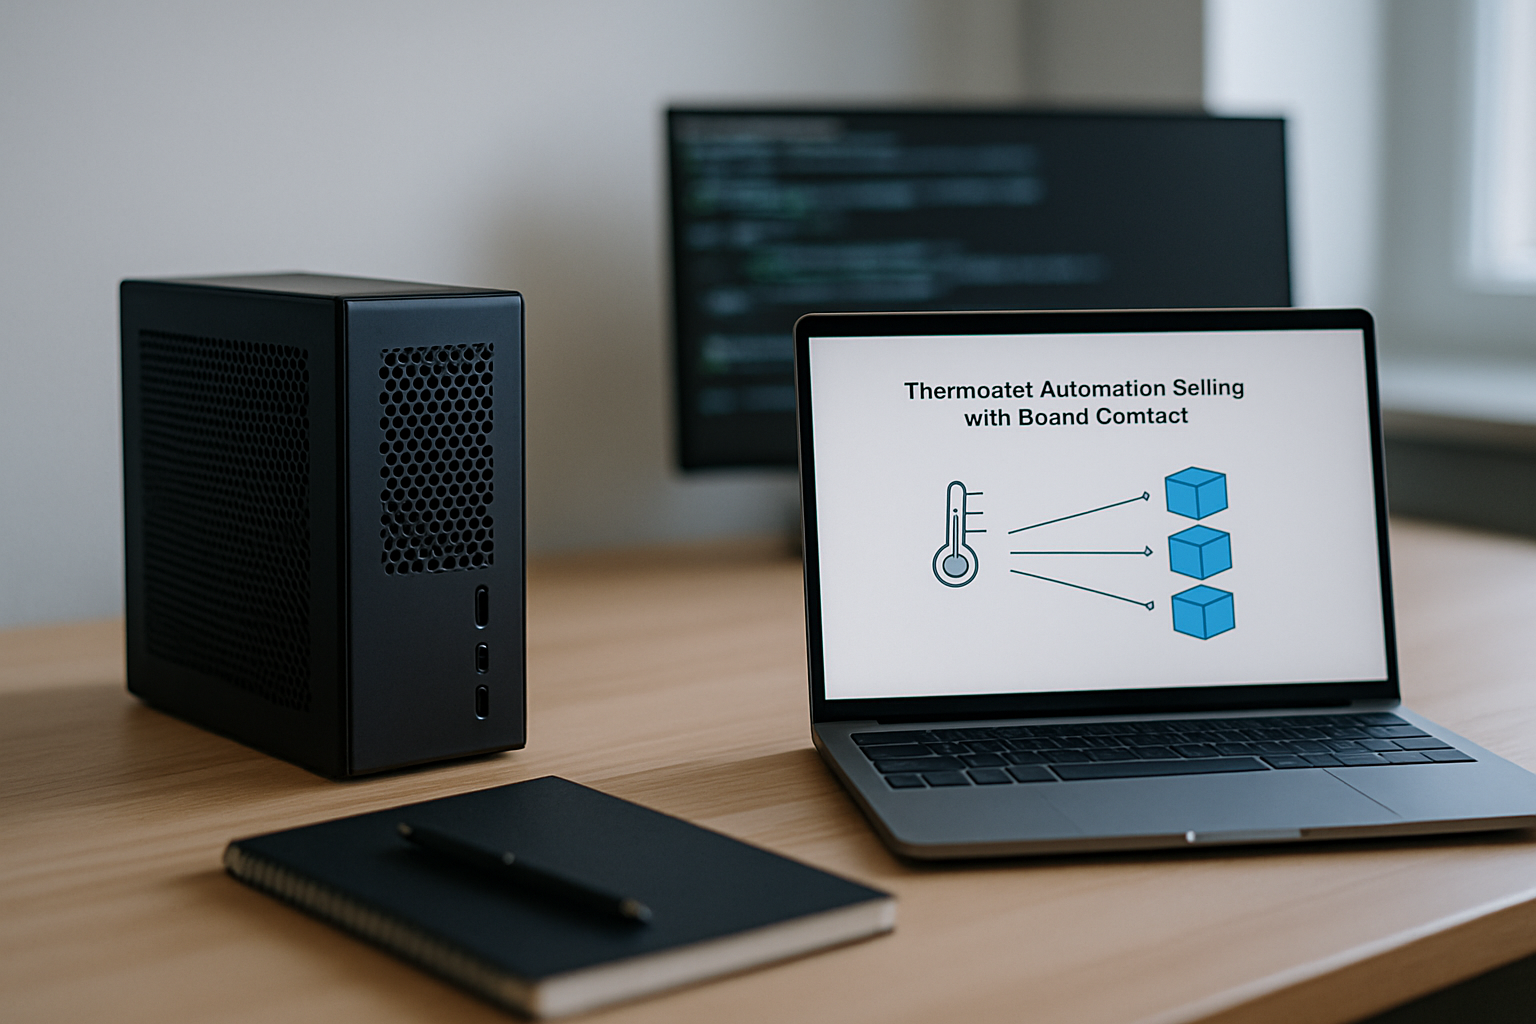
I prefer my heating under my roof and on my terms. I run the control logic locally, keep sensors and actuators on my LAN, and use Proxmox as the host with Home Assistant as the brains. That keeps the data private and gives me full control over thermostat automation.
Importance of Local Control
Local control means the decision making and data storage happen in my house, not in an internet company’s datacentre. That matters for privacy and for reliability. If the internet drops, the heating still runs to schedule. If a vendor drops a cloud API, I do not lose control.
DIY thermostat setups give options that off-the-shelf products rarely do. I can tune how often a room calls for heat. I can prioritise hot water over underfloor heating for a short window. I can log temperatures and run charts for months without handing data to a third party. Hardware costs are often lower. A spare Raspberry Pi or an ESP32 and a relay can replace an expensive proprietary stat.
I run an ESP8266 in each bedroom for temperature and occupancy. The devices talk MQTT to a Mosquitto broker on Proxmox. Home Assistant decides on set points and sends commands back. The firmware is ESPHome, so I edit YAML and push updates from my laptop.
Privacy Concerns with Cloud Solutions
Cloud-first thermostats simplify setup but often need an account and constant cloud access. That sends telemetry off-site. Some vendors put features behind mandatory cloud authentication. If you dislike remote data collection, local-first is the way to go. Some commercial models advertise local APIs but still phone home for advanced features. Check the small print or community threads before buying.
A local thermostat setup usually has three parts: sensors and actuators, a message bus, and a controller. Sensors such as temperature, humidity and occupancy publish readings to MQTT. Actuators such as relays, valves and smart TRVs subscribe to command topics. The controller, often Home Assistant, subscribes to sensor topics, runs automations and publishes set points. Proxmox runs the VMs and containers that host the controller and broker.
Practical layout I use:
- Proxmox host on an Intel NUC or similar.
- VM for Home Assistant (2 cores, 4–8GB RAM depending on add-ons).
- LXC or small VM running Mosquitto for MQTT.
- USB passthrough for a Zigbee or Z-Wave stick, or an MQTT bridge to Zigbee2MQTT.
- ESPHome devices flashed on ESP8266/ESP32 for sensors and simple relays.
Popular Local Control Options
- Home Assistant. Open source. Rich integrations. Strong community. Runs well in a VM on Proxmox.
- MQTT (Mosquitto). Lightweight, reliable message bus that many DIY devices speak.
- ESPHome and Tasmota. Flashable firmware for ESP chips. Works with sensors and relays.
- Zigbee2MQTT or ZHA (Zigbee Home Automation) for battery-powered sensors and radios.
- Commercial local-capable hardware: some Heatmiser and Honeywell models can be integrated locally, but check the model’s requirements for cloud accounts.
Pick the mix that matches the heating equipment. Boiler controls, 24V thermostats, OpenTherm and TRVs all need different interfaces. For example, an OpenTherm bridge needs an OpenTherm gateway. A wired 24V thermostat often needs a relay or SSR and a small microcontroller to make it smart.
Compatibility with Smart Home Systems
A local thermostat should play nicely with the rest of the smart home. Home Assistant is the usual glue here. It understands MQTT, Z-Wave, Zigbee and many vendor APIs. That lets the thermostat automation react to presence sensors, weather and calendar events. Make sure any device you buy exposes its interface locally or can be flashed to local firmware.
I use presence detection from the iPhone on the network and a PIR sensor in the hall. If my phone is seen as away and the house is empty, Home Assistant lowers the set points. When the PIR triggers and the phone presence returns within a set time, the thermostat ramps back up.
Using Proxmox for Local Control
Proxmox gives a stable host for VMs and containers. Run Home Assistant in a VM if you want supervisor features and add-ons. Use LXC for lighter services like Mosquitto or Node-RED when you want lower overhead. USB devices such as Zigbee sticks can be passed through to the VM. Snapshots make it easy to test changes and roll back.
Practical tips:
- Allocate at least 2 CPU cores and 4GB RAM to a Home Assistant VM for a modest setup.
- Give the MQTT container a static IP and map storage for persistent logs.
- Use Proxmox backups on a schedule, but test restores on a spare drive before trusting them.
- If you expose any service remotely, use a reverse proxy with HTTPS and two-factor authentication. Avoid exposing the Home Assistant UI directly.
iPhone Access for Local Thermostat Management
iPhone access is straightforward without cloud if you use HomeKit or a Home Assistant bridge. Home Assistant has a HomeKit integration that exposes entities to the iPhone Home app. That gives you direct control from the lock screen and via Siri. If you want native-looking controls, HomeKit is the simplest route.
For remote access from an iPhone, avoid vendor cloud options if privacy is the goal. Use an encrypted tunnel: Cloudflare Access or a self-hosted VPN are options. Port forwarding without strong encryption is not acceptable. I run a VPN to my homelab for ad hoc management and rely on HomeKit for daily control.
Enhancing User Experience with Local Automations
Local automations let you build behaviour that matches real life. Examples I use:
- Gradual wake mode. Start heating 30 minutes before an alarm if the bedroom temperature is below a threshold.
- Zoned setbacks. Reduce heating only in rooms marked as unoccupied and leave other rooms at comfort temperature.
- Weather compensation. Reduce set points on mild but sunny days detected by a local outside sensor or forecast integration.
Test each automation with logs and one-week trials. Use Home Assistant’s automation trace to see why a rule fired.
Expect more local-first options and better open integrations. Manufacturers are responding to privacy concerns by adding LAN APIs or partnering with open home hubs. Microcontrollers will keep getting cheaper, so running multiple local sensors becomes more affordable. I design systems that tolerate individual hardware failure. Keep backups of configuration and document MQTT topics and automations.
Run the logic on Proxmox, use Home Assistant as the controller, use MQTT for device messaging, and choose hardware that supports local control or can be reflashed. That setup gives me thermostat automation that is private, resilient and simple enough to tweak when the heating behaves oddly.