Configuring Sophos Firewall Home Edition for Your Home Network
I’ve put Sophos Firewall into enough home setups now to know the first hour matters. Get the hardware right, install it cleanly, lock down admin access, then add the bits that actually help day to day.
Getting Started with Sophos Firewall Home Edition
Choosing the Right Hardware
Use a compact, low-power box with at least two Ethernet ports. That gives you WAN and LAN without dragging in extra kit. I tend to reach for Protectli or Qotom mini PCs with Intel Celeron or i3-class CPUs. An Intel NUC with an add-on NIC also works.
For a 1 Gbit/s home link, I look for:
- CPU with AES-NI and four logical cores. That helps with VPN and HTTPS inspection.
- 8 GB RAM. 16 GB if you run a lot of services or IDS rules.
- 32–128 GB SSD for logs and updates.
- Two GbE ports minimum; add a third for DMZ or IoT if you want physical separation.
I would avoid older dual-core Atom boxes if you plan to use VPN and HTTPS scanning at line rate. They struggle once encryption and deep packet inspection get involved.
Installation Requirements
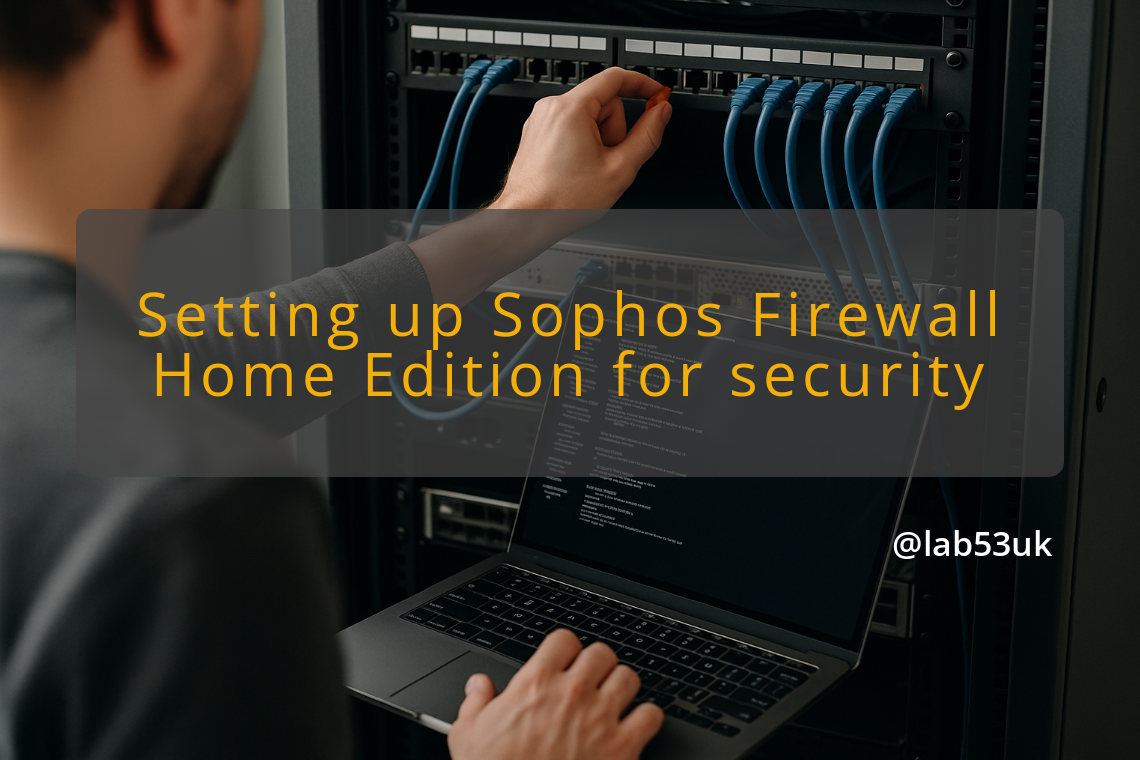
Download the Sophos Firewall Home Edition image and write it to a USB installer. On the box:
- Connect one NIC to the internet modem and one NIC to a switch or a single client machine.
- Boot from the USB and follow the installer prompts.
- Assign a static IP to the LAN interface so you can reach the web admin.
Leave time for the first update run. The full set of signatures and packages can take a few minutes on a modest connection. I keep a laptop plugged straight into the LAN interface for the first web GUI session.
Initial Configuration Steps
After install, log in to the admin console over HTTPS. Do these straight away:
- Change the default admin password and create a separate admin account for daily use.
- Set the timezone and turn on NTP.
- Set the WAN interface to DHCP or static as your ISP requires, then test internet access from the firewall.
- Set the LAN subnet and DHCP server if you want the firewall to hand out IPs.
- Turn on automatic updates for signatures and firmware. Put large updates in off-peak hours.
- Create a simple allow rule from LAN to WAN, then try browsing from a connected client.
If you use a modem-router combo, put it in bridge mode where you can. If that is not possible, use a different LAN subnet to avoid double NAT.
Securing Your Home Network
Configuring Web Filtering
I start with broad categories and tighten things over time. Gambling, malware, phishing and known adult categories go first. Then I watch the logs and add more where needed.
How I apply web filtering:
- Create a web policy that blocks high-risk categories.
- Apply the policy to the LAN network or a specific IP range.
- Turn on HTTPS inspection if you want category decisions for encrypted traffic. That means installing the firewall’s CA certificate on clients or trusting it through group policy on devices you control.
Practical examples:
- Block “Streaming Media” on a guest VLAN but allow it on the main VLAN.
- Force Safe Search for search engines in the web policy.
- Create an allowlist for internal services like NAS UI and backup endpoints.
Test filtering with known test URLs and a browser in private mode. Check the web filter logs daily for a week, then tighten rules where you see risky domains or false positives.
Setting Up VPN Access
Sophos supports SSL VPN and IPSec. For remote access from phones and laptops, I prefer SSL VPN because it tends to get through NAT and captive portals more reliably.
A simple remote access setup:
- Create a VPN user with a strong password or certificate.
- Turn on SSL VPN for that user and create a remote access policy.
- Push routes for the LAN subnet, or use split tunnelling if you want internet traffic to go direct instead of via home.
- Generate or upload a certificate for the firewall if you want cleaner trust chains.
Verification steps:
- Connect with the Sophos Connect client or the built-in SSL client.
- Ping an internal device like your NAS IP.
- Run a speed test to check throughput. If VPN is slow, check CPU usage on the firewall; encryption is CPU-bound.
For higher VPN throughput, use a device with AES-NI and multiple cores. If you plan to give family remote access, set per-user policies and limit access to only the subnets they need.
Enabling Intrusion Detection System (IDS)
Sophos calls it Intrusion Prevention. It matches signatures and can block suspicious traffic.
My approach is simple:
- Start in monitor mode for a week. Collect alerts and see what is noisy.
- Move high severity rules to block.
- Keep lower severity rules in detect only until you are confident.
Tune by IP and service. For example, allow certain scanner hits from your NAS backup service if they show up in logs but are legitimate. Turn off noisy rules that only affect home devices.
Check the IDS logs daily for the first two weeks. If you keep seeing blocked events, look at the client behaviour before you whitelist anything. The logs show source, destination, signature and packet samples.
Implementing Quality of Service (QoS)
QoS keeps a call or game responsive when a large backup or torrent runs. I set simple classes and shape at the WAN interface.
A practical QoS profile:
- Priority class for VoIP and video calls, guaranteed 200–400 kbps per active call.
- High class for gaming, low latency but lower guaranteed throughput.
- Bulk class for backups and P2P, throttled during prime hours.
Steps:
- Create a traffic shaping profile with classes and limits.
- Match traffic by application, port or IP. Use DSCP tags if your devices support them.
- Apply the profile to the WAN interface.
- Test it by running an upload or download while making a call or running a game session.
Measure the effect with iperf between a home device and an external host, or run a speed test while simulating priority traffic. Adjust guarantees and ceilings if latency stays high.
Final takeaways
Get the hardware right first: AES-NI CPU, 8 GB RAM, SSD and at least two NICs. Install and lock down admin access, then add web filtering, VPN, IDS and QoS in that order. Run each feature in monitoring mode where possible, review logs and tune rules. That keeps the home network usable without turning it into a science project.