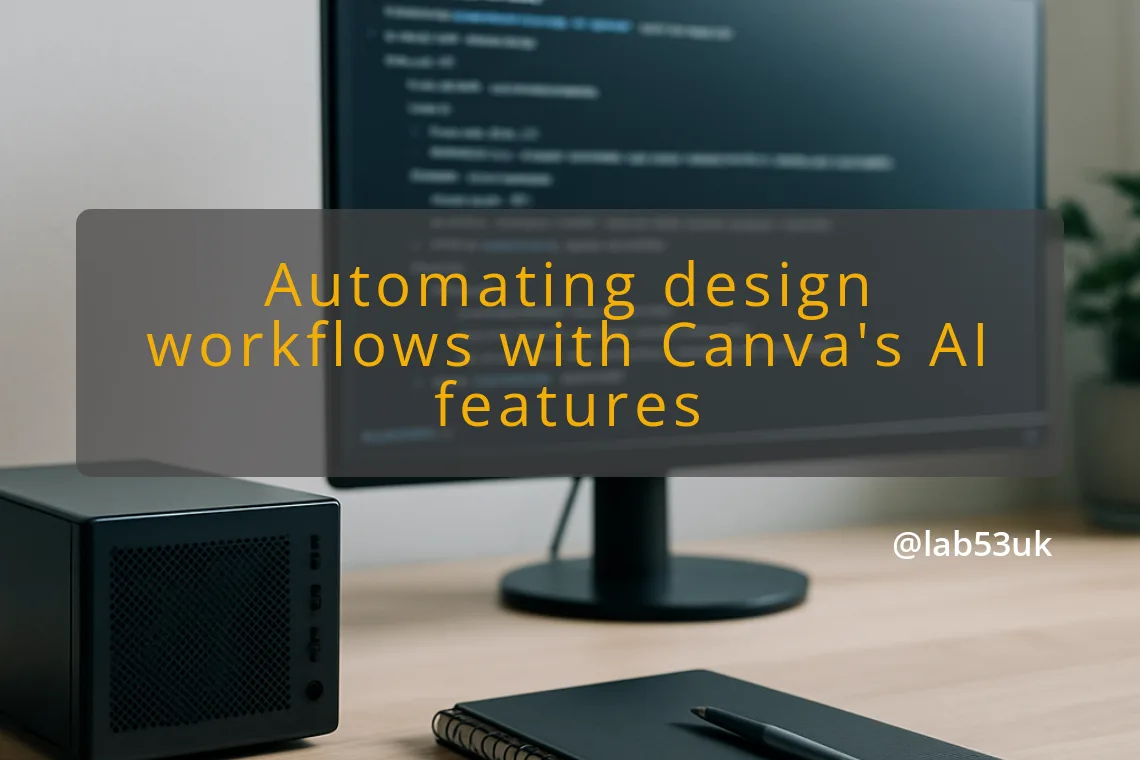
Managing Layered Designs in Your Homelab with Canva’s New AI Tools
I run a homelab and make a lot of visual assets for projects, docs and labels. Canva AI tools now produce layered, editable files that change that workflow. This guide shows how I set up and use those features for reliable automation and repeatable outputs. Expect clear steps, quick checks and examples you can copy.
Getting Started with Canva AI Tools
Introduction to Canva’s AI capabilities
Canva has added AI features that generate layered designs you can edit inside the editor, rather than getting flat JPEGs. That matters in a homelab because I often need to tweak text, move objects or swap icons across many images. The AI assistant can write copy inside the editor and suggest layout changes. Treat the AI as a first draft generator, not a final designer.
Setting up your Canva account for AI features
- Sign in to your Canva account.
- Check your plan. Some AI features appear first on paid tiers. If a feature is missing, try enabling Labs or AI settings in account preferences.
- Open your Brand Kit and upload fonts and logos you want the AI to use.
- Review data and privacy settings. Look for sections about how Canva may use uploaded content and opt out if you prefer not to have your materials used to train models.
- Create a test project folder called canva-ai-test for experiments.
Do these steps before automating anything. I use a dedicated folder so I can delete generated files if a run goes wrong.
Exploring the interface for AI tools
Spend 15 minutes exploring the editor UI. Look for:
- An AI assistant button or prompt box.
- Options to convert an image or mockup into an editable design.
- Template controls and a Bulk Create or CSV import option.
Try a quick experiment. Ask the assistant for a simple banner with a title and three bullet points. Then open the layers panel and confirm text and shapes are separate. If they are, you have editable layered output you can rework programmatically or by hand.
Implementing AI for Design Workflows
Generating layered designs using AI
I follow this recipe when I need a set of images that I will tweak afterwards.
- Draft a short brief. Include canvas size, tone, and three lines of copy. Keep prompts explicit.
- Use the AI assistant in the editor and paste the brief.
- Pick one of the generated options, then open the layers panel.
- Check that text, icons and backgrounds are editable objects.
- Rename key layers so you can find them later, for example title-text, project-icon, background-shape.
Verification step: change the title text and move an icon. If edits apply cleanly, the file is safe to use as a template. If the AI returns a flat image, re-run with a different prompt asking explicitly for editable elements.
Using the AI assistant for content generation
The assistant is good for quick copy and variants.
- Use short prompts: give context, specify length, and request tone. For example: “Short technical blurb, 20–30 words, direct, for a homelab project README.”
- Ask for multiple variants in one request so you can A/B test quickly.
- Use the assistant inside comments for iterative refinement instead of re-generating the whole design.
I keep a prompt bank in a text file in the homelab repo. That lets me re-run consistent requests and trace which prompt produced which output.
Customising design templates with AI tools
Turn a generated design into a reusable template.
- Tidy layers and group related objects.
- Replace placeholder text with {{variables}} if you plan to use Bulk Create.
- Save the design as a template in your test folder.
- Use Bulk Create or import a CSV to populate multiple images from one template.
Practical tip: lock the background layer and leave editable only the fields you will populate automatically. That reduces accidental layout drift.
Ensuring privacy and data settings are configured properly
Before you upload sensitive diagrams or lab schematics, double check privacy controls.
- Read the AI and data-use settings in account preferences.
- Disable any option that says Canva can use your uploads to train models if you want to keep material private.
- If a feature requires you to opt in, take note of timestamps so you can reverse the choice later.
If you cannot find clear controls, treat the AI workspace as public-facing and strip identifying details before upload.
Best practices for effective use of Canva AI tools
- Keep prompts precise. Mention which elements must be separate layers.
- Use versioned templates. Name them with a date and a short descriptor, for example infra-banner-2025-11-01.
- Test at low volume. Generate five images, check layers, then scale.
- Automate exports in batches using Bulk Create. Generate once, then edit locally if needed.
- Back up templates outside Canva. I export a copy of key templates as editable file formats that I store in a git repo or NAS.
Avoid over-reliance. Use AI for drafts and bulk generation, but review every output before publishing.
Examples of successful design automation with Canva AI tools
Here are patterns I use in my homelab.
- Runbook thumbnails
- Create one template for runbook covers.
- Use the AI assistant to generate titles and one-line descriptions from the runbook header.
- Populate a CSV with runbook names and use Bulk Create to produce 50 covers in 10 minutes.
Result: consistent thumbnails that remain editable when I need to tweak dates or versions.
- Project banners for a personal docs site
- Feed the assistant a short brief for each project.
- Generate layered designs and consolidate icons into a single asset set.
Result: consistent branding across project pages, quick manual tweaks for different sizes.
- Hardware lab labels
- Use a small template with placeholders for ID, hostname and QR code.
- Populate via CSV and print on label stock.
Result: neat, standardised labels I can update annually.
- Social or status graphics
- Create a base template with editable title, status dot and timestamp.
- Use the AI assistant to generate status copy. Replace the timestamp automatically before export.
Result: quick daily status images that match the homelab aesthetic.
Final checks before any automation run: confirm the generated files keep editable layers, verify privacy choices for uploaded data and run a small sample to catch template drift. If those checks pass, scaling up is safe and predictable.