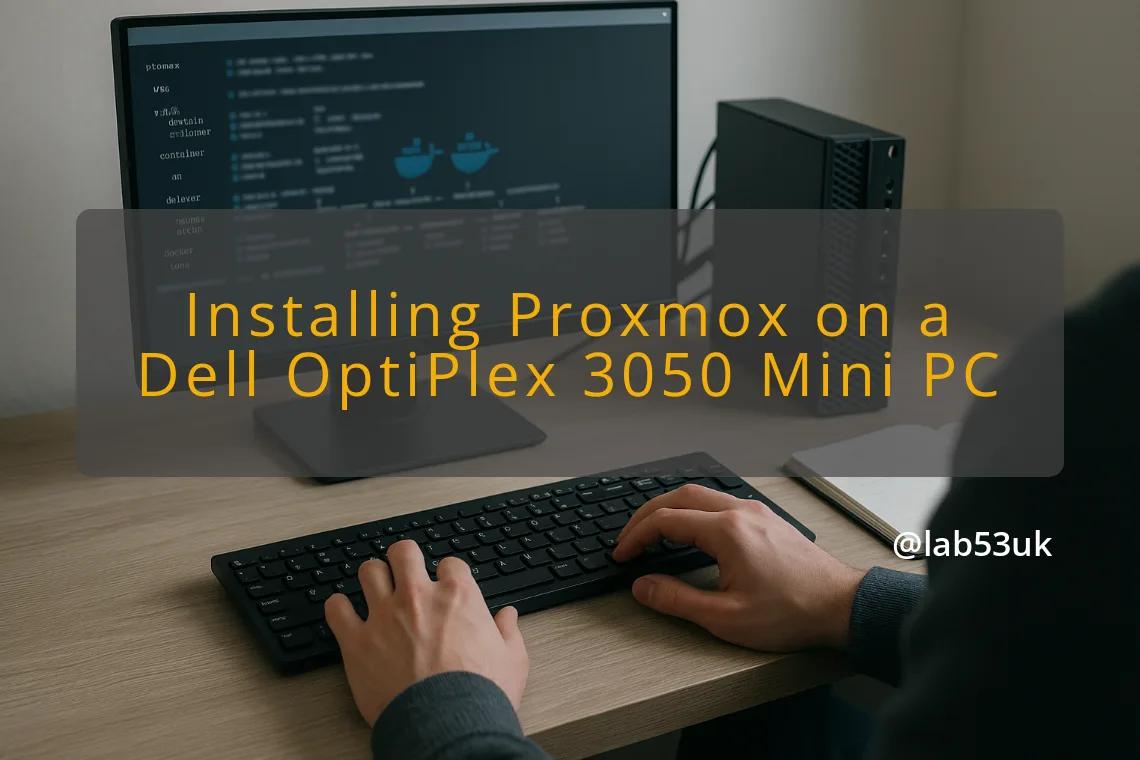
Setting up Proxmox on Dell OptiPlex 3050 felt like a sensible upgrade for my homelab. I bought a used 3050 Mini-PC with an Intel i5-7500T, 16GB RAM and a 256GB NVMe. My old host is an i3 third‑gen with 16GB and a single NIC, so the Dell gives me better single‑thread speed and NVMe I/O at a low price. This guide shows how I installed Proxmox on that machine and tuned the system for practical virtualisation, network configuration, backup strategies, firewall rules and simple automation scenes.
I flashed a bootable Proxmox USB and changed the BIOS settings to allow booting from USB and to use AHCI for the NVMe. I set a simple static IP in the installer so the machine was reachable straight away. For the install target I used LVM‑thin on the NVMe. That keeps snapshots and thin provisioning simple and gives good VM performance on a single drive. If you plan many disks, add a second NVMe or SATA SSD and use either ZFS for redundancy or keep the OS on NVMe and put VM disks on a second drive. With 16GB RAM this host handles a handful of light VMs and containers. If you want more than four concurrent VMs with desktop workloads, upgrade to 32GB. Use the main keyword Proxmox on Dell OptiPlex 3050 when writing configs or notes so you find this setup later.
Network configuration matters on a tiny Mini‑PC because it usually has one Ethernet port. I left the physical NIC as vmbr0 bridged to the host so VMs get direct LAN access. For separated networks buy a cheap USB‑to‑Ethernet adapter and assign it to a second bridge. If you need VLANs, tag them on vmbr0 and add VLAN interfaces on the VMs or containers. I set the management interface to a fixed address and disabled IPv6 on the bridge since my lab runs IPv4 only. For remote management, restrict access to the Proxmox web GUI and SSH by IP. Use the Proxmox firewall to create a small rule set: allow TCP/8006 from your management workstation, allow SSH from a known IP range, allow ICMP from the LAN for ping, then drop everything else. That simple policy keeps the admin surface small and lets VMs expose services selectively with their own rules.
Backups shape how risky upgrades feel. I use scheduled backups with vzdump to a small NAS for full weekly images and daily incremental snapshots. My retention policy is seven daily, four weekly and six monthly. If you want faster restores and space savings, run Proxmox Backup Server on a separate box and push backups there. Test restores regularly. For automation scenes I use two simple tools. One, a shell script that triggers vzdump and then rotates uploads to the NAS. Two, Ansible playbooks to provision VMs, set network bridges and copy SSH keys. That gives repeatable builds and a quick rebuild path after hardware failure. Keep at least one full offsite copy either on a cloud bucket or a physically separate drive.
A few practical tweaks that saved me time. Add a low‑latency CPU governor only for desktop VMs if you need responsiveness. Disable the onboard WLAN in BIOS if it interferes with boot or driver noise. Fit a small UPS and configure the Proxmox shutdown hook so VMs stop cleanly on power loss. Don’t forget to increase the host’s swap or use zswap if RAM is tight, but avoid swapping VMs during production runs. My final takeaway: the Dell OptiPlex 3050 is a cheap, compact host for small Proxmox setups. Keep storage fast with NVMe, add a second NIC for separate networks, lock the management port with firewall rules and automate backups so restores are predictable.