I build cabinets for use, not show. I place kit for access and cooling, not for Instagram. These notes are about keeping a compact network cabinet tidy, reliable and quiet in a UK home.
Small spaces force choices. I start by measuring the service void, then I map device footprints. A 600mm deep cabinet swallows most consumer switches and a slim UPS. A 450mm deep cabinet takes patch panels, small switches and a router, but not a full-depth server. Use vertical rack rails where you can. Fit shallow shelves for the modem, a small NAS and a PoE switch. Mount a slim UPS on a shelf or side bracket. If there is a structured media centre already, put the cabinet behind or beside it and reuse the cavity to hide the cabling.
Plan for door clearance and cable entry. I route incoming ISP cable and fibre through the lowest grommet, then patch to a faceplate or patch panel. Leave 150–300mm of service loop for changes. For power, I prefer an internal fused distribution strip that takes UK plugs, mounted at the rear or bottom for short runs.
Choosing the Right Equipment
Pick equipment to suit the cabinet, not the other way round. For compact setups I use a 16-port non-managed switch for simple networks, or a 16-port PoE switch if cameras or APs need power. For routing, a compact fanless device works well in a living space. If I need more advanced routing, I use a small fan-cooled box and put it where airflow is better.
When choosing patch panels, use 1U blank panels where ports are not needed yet. Use slim UPS units rated for short brownouts and graceful shutdowns for a small NAS. For UK home networking I favour devices with local support and clear PSU options. Match depth, rack unit height and port count to the devices you plan to fit, or you will end up swapping them out later.
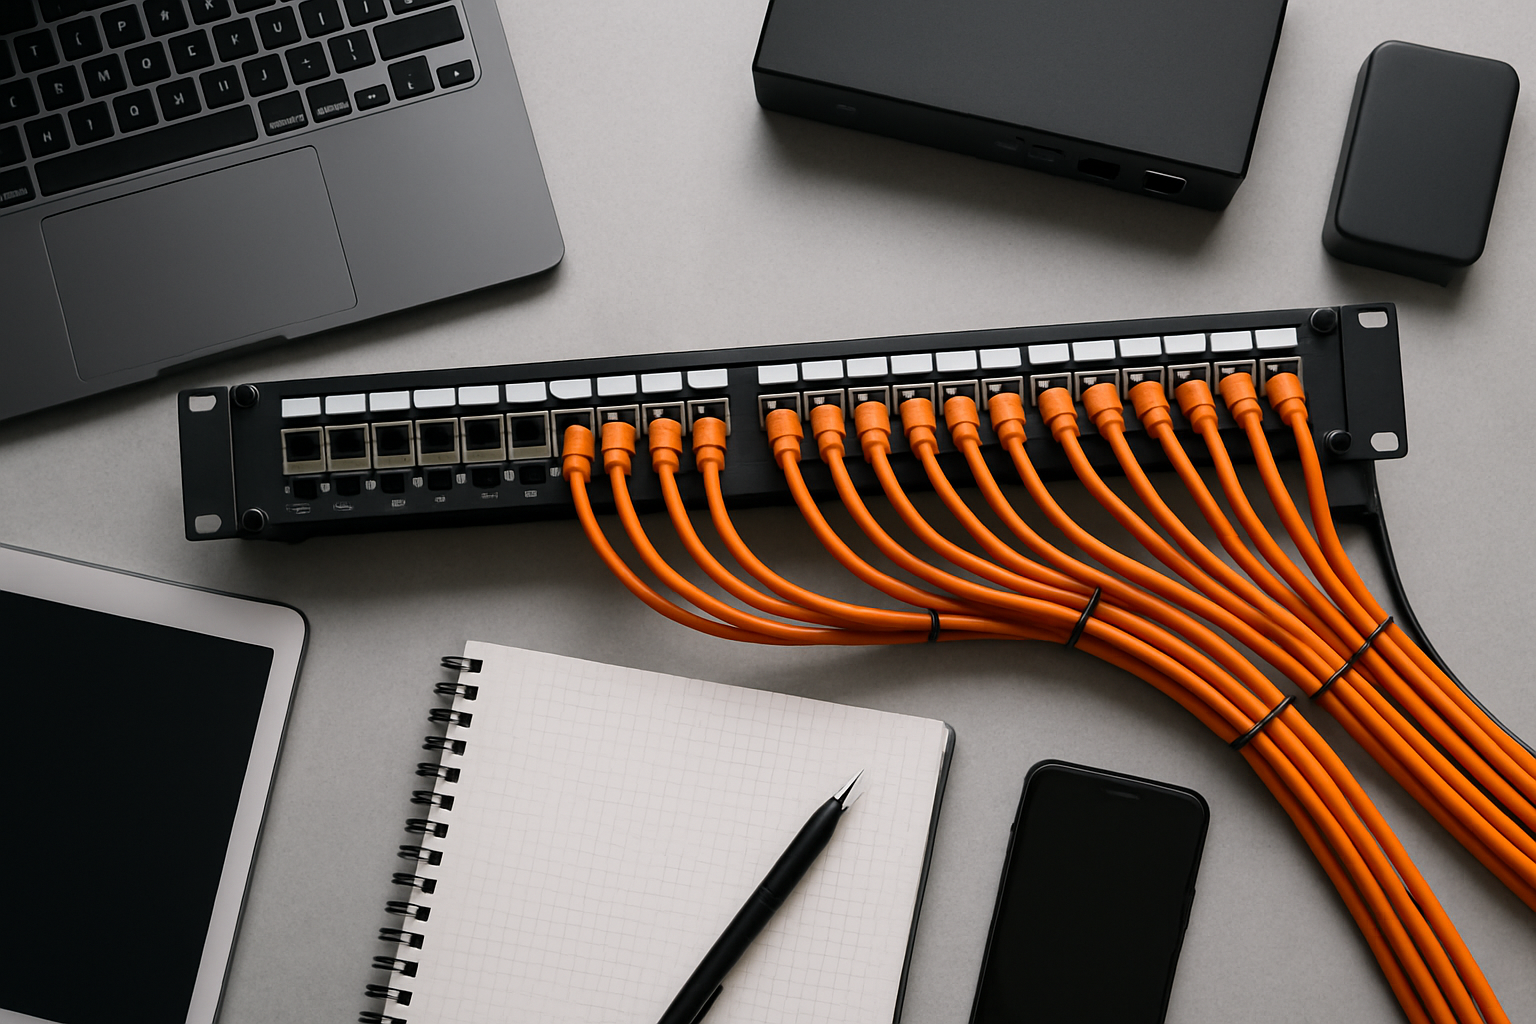
Good cable management makes a cabinet usable. I separate power and data. I keep patch leads neat with horizontal organisers and Velcro straps. Use labelled short patch leads for the front connections and longer trunk cables at the rear. Colour code by function: blue for LAN, yellow for PoE, grey for uplinks, red for WAN. Stick to 0.5–1m patch leads for front-to-panel links and 2–3m for rear-to-device runs.
Terminate runs to a labelled patch panel. Use a cable entry plate with grommets on the bottom for tidy ingress. Put a shallow cable tray at the rear to gather excess cable. Avoid zip ties on Ethernet cables; use Velcro so moves are easy later. If you are running coax or fibre, keep bends gentle and follow the minimum bend radius.
Ventilation and Cooling Strategies
Compact cabinets trap heat. I plan the airflow path: cool air low, warm air high. Passive ventilation works for low-power kit if the cabinet has perforated doors and the room itself is ventilated. Fit a quiet 80–120mm fan with a thermostat if the cabinet holds a router, PoE switch or NAS that runs hot. Mount fans at the top for extraction.
Put the hotter equipment near the fan. Leave 25–50mm clearance behind devices for convective flow. If I have to run a noisy fan, I fit sound-absorbing foam around the outside of the cabinet or use low-RPM fans made for silence. Monitor intake temperature for the first week and tune the fan hysteresis until the noise and heat are in the right place.
Aesthetic Integration in Home Design
A cabinet in a hall or lounge has to look deliberate. Paint or finish it to match the skirting or the structured media centre. Use a flush door or a louvre panel that reads like furniture. If the laundry room is the only sensible spot, use a recessed cabinet behind a plumbing cover as a concealed structured media centre.
Use cable outlets that sit flush with wiring centres. Keep LEDs out of sight with an internal shutter, or point devices towards the rear. I fit a blank plate where visible lights would be distracting. Keep the surface calm and treat the cabinet like a utility cupboard, not a bit of kit on display.
I start with a device list and a power budget. Note the wattage for PoE devices, NAS draw and PSU losses. Sketch the cabinet elevation with RU heights or shelf depths. Mark cable entry points, earthing and breaker locations. If the main Internet feed lands here, plan the modem, router and a short run to the patch panel first. Include the structured media centre in the sketch if one is already present so the cabinet ties into the existing sockets and faceplates.
Decide where the fixed items sit: patch panel at the front, switch behind it, router on a shelf or rail. Label each planned port and cable path on the drawing. Planning saves most of the rework.
Installation of Devices
Install rails or shelves first. Fit the patch panel at eye level for easy access. Put the switch directly behind the panel where you can, to keep patch lead lengths short. Fit the router on a shelf with good airflow. Secure the UPS and power distribution unit at the base or rear.
Run cables through grommets. Terminate field cables to the patch panel and check the labels. Use short patch leads between the panel and switch. Secure all equipment to the rails. Test mechanical stability before powering anything.
Power up in stages. Bring up the modem, then the router, then the core switch and finally the PoE devices. Check link lights and use a laptop to verify LAN access and internet. For PoE cameras or access points, confirm they boot and get an IP. If a device fails to boot, swap the port and try another patch lead. Check polarity and earth if odd interference shows up.
Use a cable tester on terminated runs to check the pairs and spot opens or shorts. Record IP addresses and serials in a simple spreadsheet. If heat is a problem, monitor device temperatures during a 24–72 hour run.
Maintenance Tips for Longevity
I do a quarterly check. Clean dust filters, check fan bearings and retension the Velcro straps. Update firmware on routers and switches, but do it one device at a time: update the router at a quiet time and keep notes on the changes. Keep spare patch leads, a small punchdown tool and fuses nearby. Replace foam seals and cable grommets if they harden.
Document changes. Keep a labelled spare port on the patch panel for temporary use. Replace failing power supplies promptly.
Leave room for modest growth. Keep 20–30 per cent of rack units free and reserve power headroom. Fit an extra 12-port patch panel or a blank 1U reserve. Choose modular switches or stackable options if you want to avoid a full replacement later. Run conduit or oversized grommets for future cable types, including fibre if that turns up. If I expect camera growth, I set aside PoE capacity and a plan for a larger UPS.
Size the cabinet to the kit, keep the cable runs neat, plan the airflow, and make the cabinet look like part of the house rather than a lab. That is what keeps it quiet, cool and serviceable.