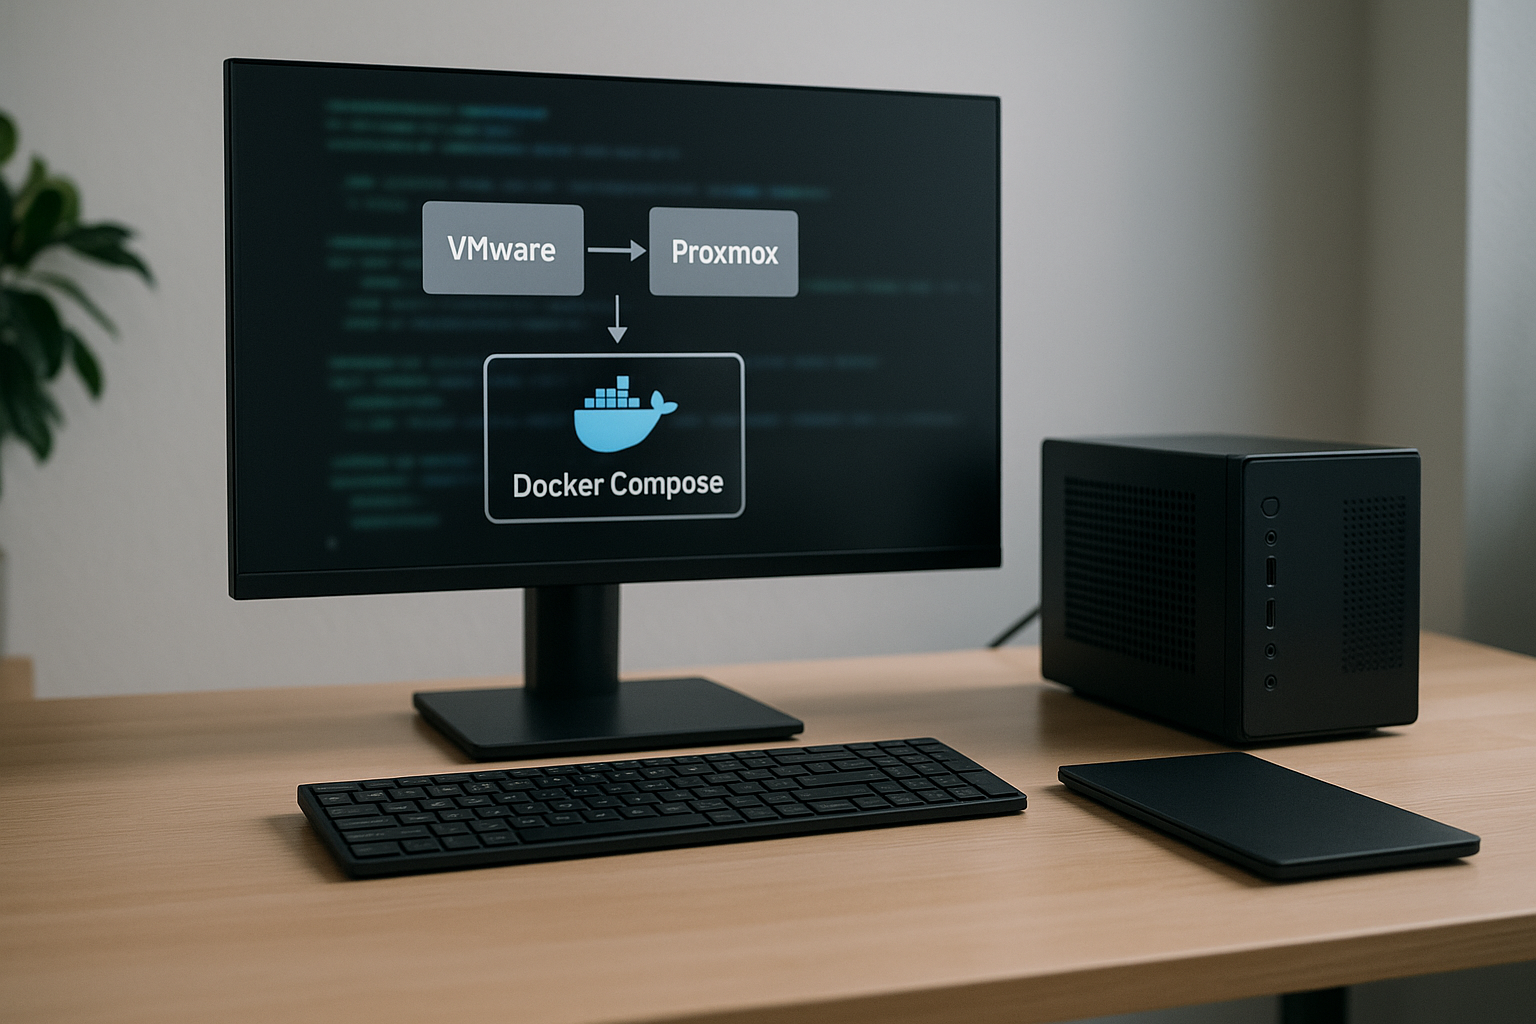
I treat this as three jobs: backup, import, verify. First, take reliable backups of VMs on VMware. Second, import those VM disks and configs into Proxmox. Third, verify the VMs boot and behave. The goal is minimal downtime and clean state on Proxmox. This guide focuses on backup strategies and the actual commands I use when moving from VMware to Proxmox, with attention to Proxmox configuration, network management and automation where useful.
Disk format differences. Snapshot chains on VMware. VM hardware versions and virtual NIC types. Firewall and network names that do not map 1:1. Unexpected UUID changes. I have hit corrupted exports when snapshots were live. I also see bootloader problems when disks move between controllers. Expect to spend most time on storage and network mapping rather than CPU or RAM.
Decide if you want full live migration or offline export. For homelabs I prefer offline exports—simpler and more predictable. Map VM IDs: pick a Proxmox VMID per VM and stick to it. Choose storage target on Proxmox (local-lvm, ZFS, NFS). Plan network management: match VLANs and interface types (VirtIO is preferred on Linux guests). Set backup strategies on Proxmox once VMs land.
Preparing your environment
On the Proxmox host, ensure enough storage and correct storage type. Update Proxmox to a recent stable release. Create the storage containers you will import to: LVM, ZFS pool or directory storage. Reserve an isolated management network for the migration traffic if possible. Shut down VMs on VMware when exporting disks unless you use a supported live-export tool.
On the machine that talks to VMware and Proxmox I use:
- VMware ovftool for OVA/OVF exports.
- scp or rsync to move files.
- ssh to run commands on Proxmox.
- On Proxmox: qm and pct command-line tools.
Install ovftool on your workstation or an appliance with network access to ESXi/vCenter.
Create a temporary VM config in Proxmox to receive the imported disk. Example:
- Create VM skeleton: qm create 100 –name vm-name –memory 4096 –net0 virtio,bridge=vmbr0
- Prepare storage: confirm storage ID with pvesm status
- Enable VirtIO drivers in VM config for Windows guests after import.
This setup keeps disk import simple: create VM, import disk, attach disk, adjust boot order.
Backup procedure
- Shut down the VM on VMware. This avoids snapshot chain issues.
- Export the VM disk or OVA. I prefer exporting the disk VMDK for better control.
- Transfer the exported files to the Proxmox host or a gateway.
- Create a Proxmox VM skeleton with the desired VMID and network settings.
- Import the disk into Proxmox storage and attach it to the VM.
- Adjust VM config (bus type, boot order, serial console).
- Boot VM in Proxmox and verify services.
Note: shutting down a VM changes state. Keep a rollback snapshot or keep the original VM powered off but intact until verification finishes.
Commands for backup
Export using ovftool (example from workstation):
ovftool vi://username@esxi-host/Datacenter/vm/VMName ./VMName.ova
Or export just the VMDK from ESXi datastore via SSH:
vmkfstools -i /vmfs/volumes/datastore/VMName/VMName.vmdk /tmp/VMName.vmdk
scp /tmp/VMName.vmdk root@proxmox:/var/lib/vz
On Proxmox, create VM and import disk:
qm create 200 --name vm-name --memory 4096 --net0 virtio,bridge=vmbr0
qm importdisk 200 /var/lib/vz/VMName.vmdk local-lvm
qm set 200 --scsihw virtio-scsi-pci --scsi0 local-lvm:vm-200-disk-0
qm set 200 --boot c --bootdisk scsi0
Resources for further assistance
Use Proxmox documentation for qm importdisk options and driver details. Search the Proxmox forum for similar migration threads. Keep ovftool and ESXi logs handy when asking for help. End the migration only after a clean verification and a tested backup strategy is running on Proxmox.
Plan the storage and network mapping first. Backups must be checksummed and tested. Use qm importdisk and prefer VirtIO for performance. Keep the VMware VM around until you have verified boot and services on Proxmox.


