Automating Your Home with AI: A Practical Blueprint for Local Control
I keep my home automation local where possible. That gives me predictable latency, control over privacy settings and fewer cloudy failure modes. This guide walks through a hands-on path to AI home automation with local smart home control and practical firewall rules. No fluff. Just parts, configs and checks you can copy.
Setting Up Your AI Home Automation Environment
Choosing the Right Hardware for Your Setup
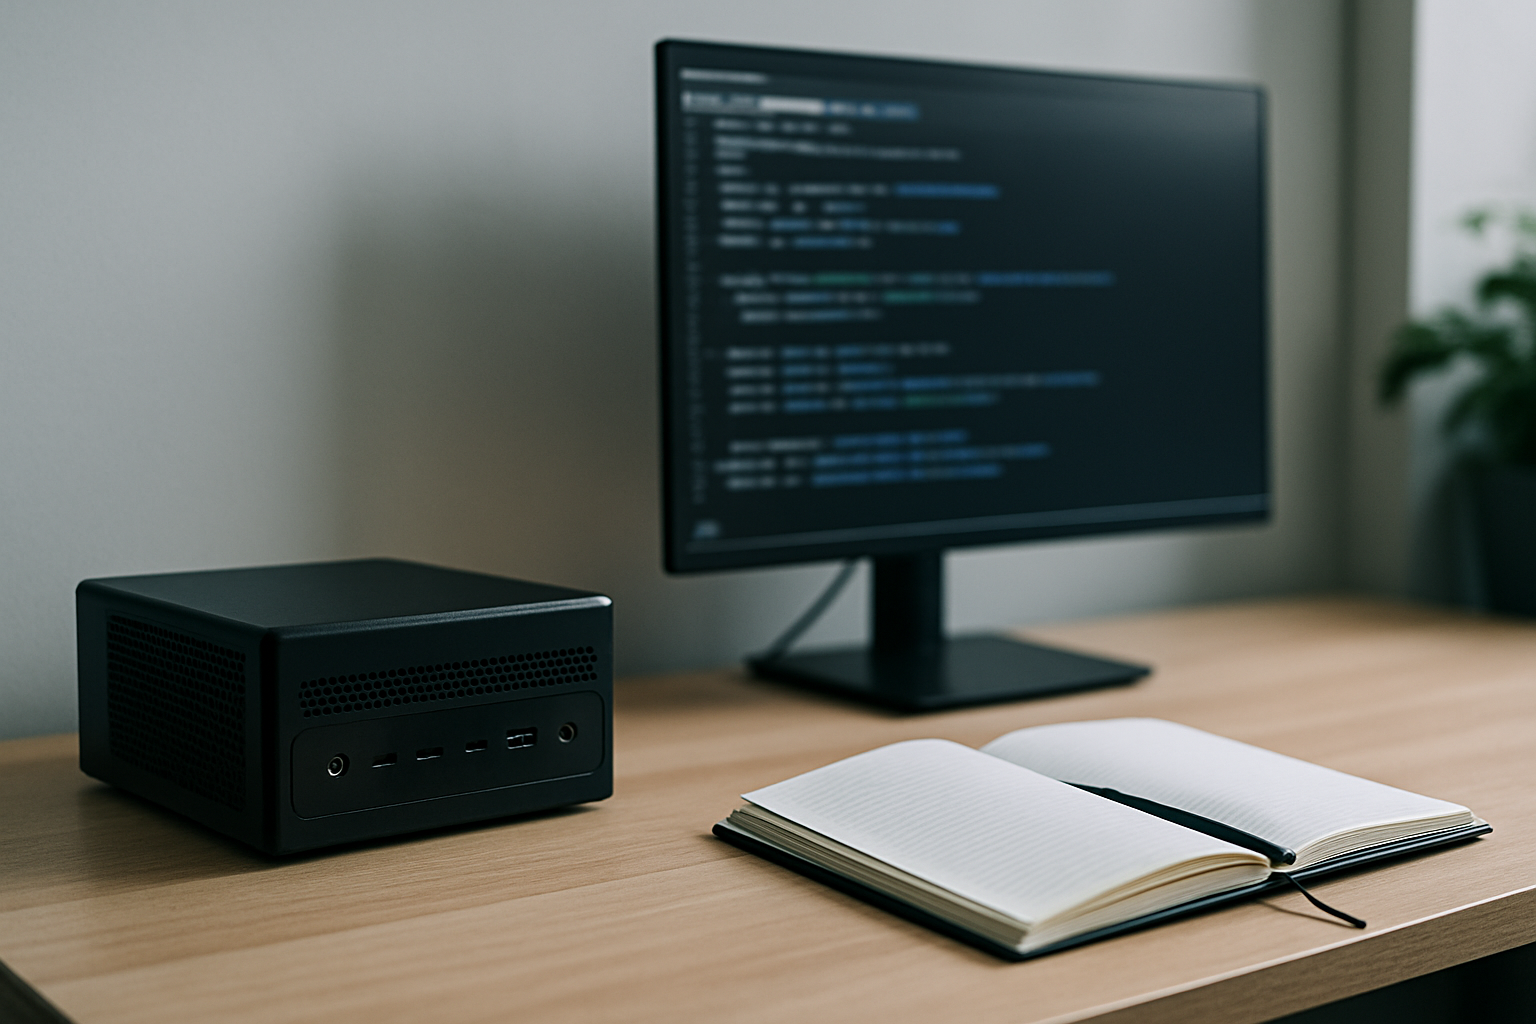
- Pick hardware for the workload. A Raspberry Pi 4 (4–8 GB) handles Home Assistant and light automations. Use an Intel NUC or small x86 mini PC if you plan to run local machine-learning models or many containers.
- Keep storage on a fast SSD. SD cards survive poorly under constant writes.
- Prefer wired Ethernet for hubs and controllers. Wireless is fine for battery sensors and devices that cannot be cabled.
- If you plan offline AI inference, budget for a small accelerator (Edge TPU, Coral) or a machine with a reasonable CPU and RAM. The more local processing you want, the stronger the hardware required.
Installing Necessary Software and Tools
- Base stack I use: Home Assistant (OS or Container), an MQTT broker (Mosquitto), Node-RED for logic, and Docker for anything else. Run them in containers or dedicated VMs for clearer isolation.
- Use DHCP reservations so devices keep the same IP. That makes firewall rules simple and reliable.
- Run a local model runner only if you need low-latency or offline capabilities. Keep model storage and runtime on a machine behind your LAN firewall.
Configuring Network Settings for Optimal Performance
- Segment the network. Create a VLAN for IoT devices and one for trusted devices. Put Home Assistant and the MQTT broker on the trusted VLAN or a management VLAN.
- Make firewall rules simple: allow trusted VLAN to access services, restrict IoT VLAN to only the services it needs.
- Reserve IPs via your router or DHCP server. Use DNS names in configs rather than hard-coded IPs where possible.
- Enable QoS for voice or media streams if your router supports it. It keeps latency predictable for AI voice interactions.
- Document your layout: VLAN IDs, subnet ranges, device reservations and which machine runs which service. That makes firewall maintenance straightforward.
Implementing Firewall Rules for Security
Understanding Basic Firewall Concepts
- Default deny is the simplest safe posture. Block incoming from WAN by default. Allow only specific ports you need.
- Think in terms of zones: WAN, LAN-trusted, IoT, guest. Define which zone can talk to which service and on what ports.
- State tracking matters. Allow established and related connections, deny new inbound attempts unless specifically permitted.
Creating Custom Rules for Your Devices
- Start with a policy: deny incoming, allow outgoing. From there, open only what’s required.
- Example using UFW (simple and readable):
- sudo ufw default deny incoming
- sudo ufw default allow outgoing
- sudo ufw allow from 192.168.10.0/24 to any port 8123 proto tcp # Home Assistant from trusted VLAN
- sudo ufw allow from 192.168.20.0/24 to 1883 proto tcp # MQTT from IoT VLAN
- sudo ufw deny from 192.168.20.0/24 to 192.168.10.0/24 # block IoT VLAN to trusted VLAN
- Example nftables snippet for a management host:
table inet filter {
chain input { type filter hook input priority 0; policy drop;
iif “lo” accept;
ct state established,related accept;
ip saddr 192.168.10.0/24 tcp dport 22 accept;
ip saddr 192.168.10.0/24 tcp dport 8123 accept;
}
} - Use device IP reservations and optional MAC filtering to make rules stable. Don’t rely solely on MACs for security — they can be spoofed.
Testing and Troubleshooting Your Firewall Configuration
- Test from a client on each VLAN. Use curl or a browser to hit service ports. Example: curl -v http://192.168.10.5:8123
- Scan from a safe machine with nmap to confirm only intended ports respond: nmap -Pn -p 22,8123,1883 192.168.10.5
- Check firewall logs: sudo ufw status verbose or sudo nft list ruleset. Look for blocked packets and trace their source.
- If a device stops working after a rule change, revert and reapply rules incrementally. Small, testable changes are easier to debug than big sweeps.
Maintaining Security Over Time
- Patch regularly. Keep Home Assistant, OS and containers updated on a schedule you control.
- Backup configurations: firewall rules, Home Assistant YAML or snapshots, Docker-compose files. Store backups off the device but inside your local network or on encrypted cloud storage.
- Monitor logs and set alerts for repeated failures. Fail2ban or simple logwatching will catch brute force attempts.
- Review rules quarterly. Devices come and go. Remove stale rules that reference retired IPs.
Best Practices for AI Home Automation Security
- Avoid exposing services to the WAN. Use a VPN for remote access rather than opening ports.
- Limit IoT device access to the absolute minimum. Many devices only need outbound DNS and access to an MQTT broker.
- Harden privacy settings on devices and services. Disable cloud features if you can run equivalent local functionality.
- Keep a single point of trust: your Home Assistant or a gateway that enforces policies. If that machine is compromised, everything else is at risk, so protect it well.
- Use automation blueprints to codify your network and firewall patterns. Treat them as code: version them and test changes in a lab before deploying.
Takeaways
- Design the network first: VLANs, DHCP reservations and documented IPs make firewall rules manageable.
- Default deny. Open only what you need and test every rule.
- Prefer VPN over port forwarding and keep AI processing local when latency or privacy matters.
- Automate backups and patching. Review rules on a schedule.
Follow this blueprint and your AI home automation will be faster, quieter and far less of a privacy risk than a cloud-first setup.

