Blueprint for a Quiet Homelab: Configuring Your Space for Noise Management
A quiet homelab starts with choices, not tricks. Pick the right room. Pick quieter kit. Treat the surfaces that make sound bounce. I lay out a practical blueprint that covers location, acoustics, hardware, power and cooling. I include hands-on steps you can follow and things I use or would use in a home setup.
Choose the quietest room you can without creating hazards. A garage or dedicated cellar works if it has dry, stable temperature and accessible power. Avoid bedrooms and living rooms. Look for a room with a solid floor and fewer thin walls. An attic can be fine if it has insulation and safe wiring.
Think about routes for power and network cabling. Short, direct runs reduce clutter and let you centralise loud kit. If mains access is limited, plan for a small distribution board or a qualified electrician to add circuits. I favour a single dedicated ring for heavy-draw devices like 1U racks and a separate ring for low-power client boxes.
Acoustic Treatment Techniques
Treat reflective surfaces first. Bare plaster, hard floors and flat ceilings bounce noise. Add dense materials where sound exits the room. Mass-loaded vinyl behind racks, heavy curtains, and bookshelves help. Use closed-cell acoustic foam for mid-to-high frequency trimming near the source; it is cheap and easy to fit. For low frequencies, add mass and decoupling — think of thick panels or a floating floor under a rack.
Seal gaps around doors and pipe entries with silicone or foam gaskets. A common mistake is sound leaking through vents. Fit acoustic baffles or lined ducting for ventilation paths. Don’t overcomplicate the room with expensive panels if the main leak is a single door crack.
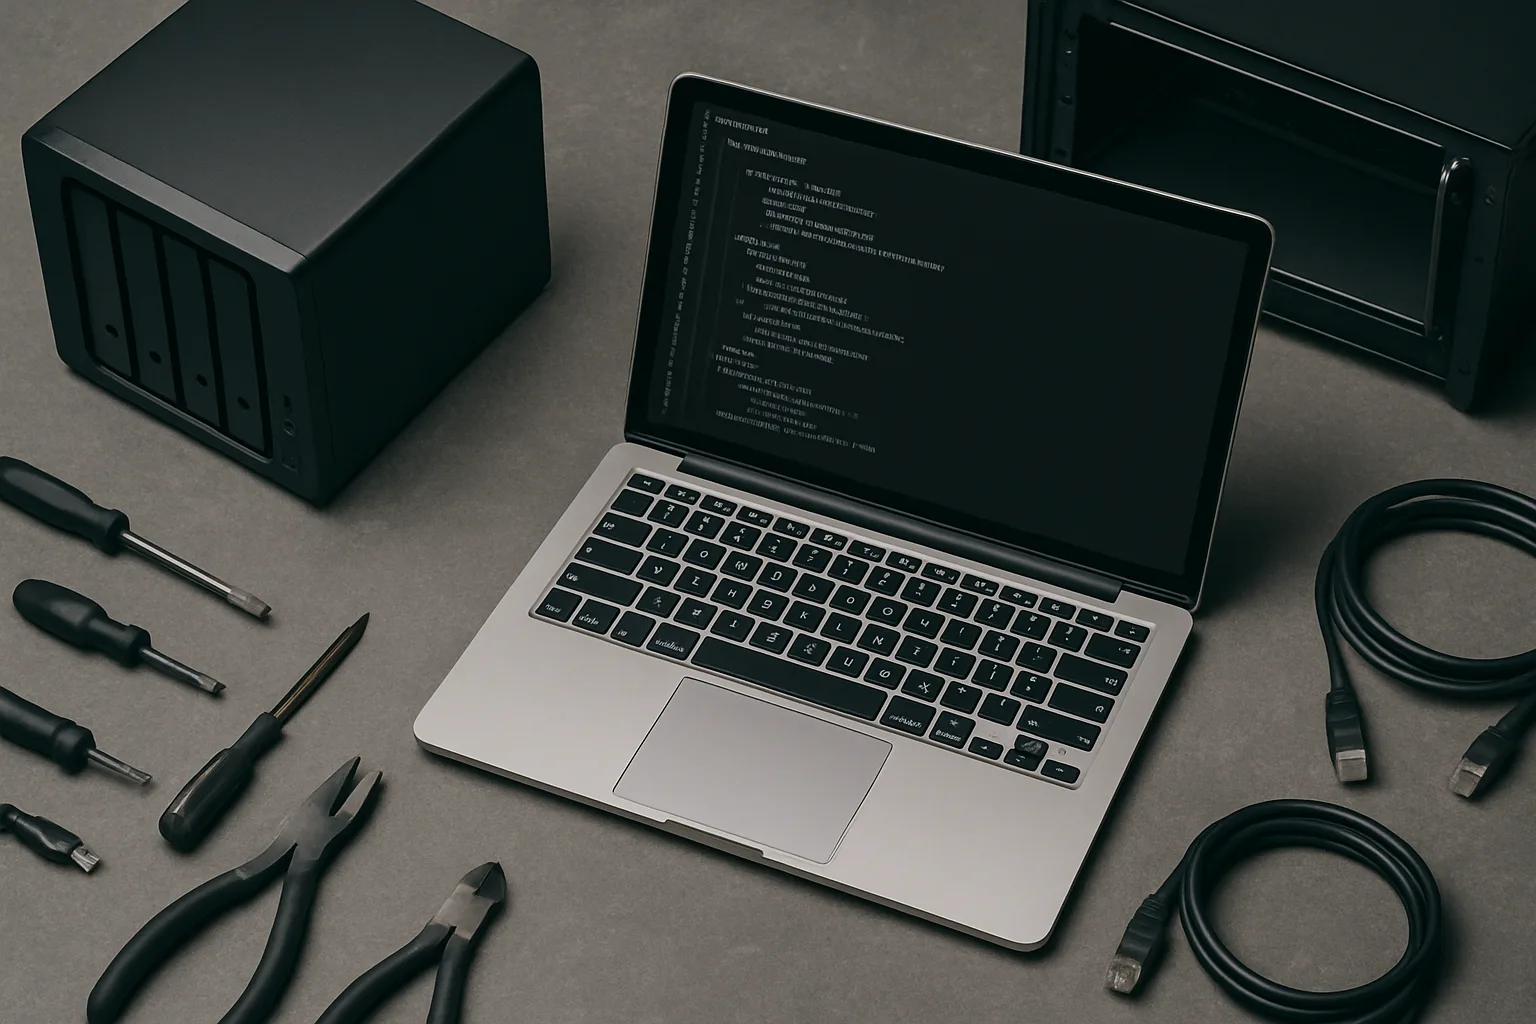
Pick components known for quiet operation. SSDs remove the high-pitched seek noise of spinning drives. Low-RPM fans and large-diameter fans move the same air at lower noise. Look for 120 mm or 140 mm fans rated for low rpm. Choose passive or fanless mini-PCs for workloads that can run on low power. Devices often used in homelab design — compact NUC-style machines and small NAS units — can be tucked away and produce less noise than full rack gear.
When I pick a NAS or server, I check cooling design and fan control. Models with temperature-controlled fan curves let you tune noise vs temperature. Consider an uninterruptible power supply with a quiet fan or one that only spins under load. A UPS such as the Eaton 5P series is commonly used for reliable power and can be placed remotely to keep the rack quiet.
Power Accessibility and Layout
Map power before you buy gear. Place sockets where you can run neat power distribution units (PDUs) or small breaker-protected strips. Avoid coiling extension leads; they trap heat and complicate airflow. Keep noisy power supplies outside the main living area if possible. If a small server must sit close to you, put the PSU in a cabinet lined with acoustic foam and ventilate it to a quieter corridor.
Label every outlet and PDU. A clear power layout reduces temptation to add devices haphazardly and therefore limits heat and noise growth over time.
Quiet cooling is about airflow, not fan count. Bigger fans at lower speed are quieter. Arrange intake and exhaust so air flows straight through the rack or cabinet. Use baffles to direct hot air away from intake grills. If the room is sealed, design a low-noise duct to an external vent or use a small inline fan with acoustic lining.
Liquid cooling can move heat out of a room quietly, but it adds complexity and points of failure. For most homelabs, good airflow and conservative component selection are a simpler route.
Soundproofing Materials and Techniques
Start with cheap, effective fixes. Fit a door sweep and gasket. Line the floor under a rack with a dense rubber mat to stop vibration transfer. For walls, add a second layer of plasterboard with a viscoelastic damping compound where noise is worst. Use MDF or cement board where weight and mass help stop low-frequency noise.
If you install a cupboard or server cabinet, bolt rubber isolators under the feet and use anti-vibration mount kits for HDDs and fans. Avoid using only foam. Foam soaks up mid and high frequencies but does little for bass.
Place the loudest gear furthest from living spaces. Put spinning storage and high-rpm fans near external walls that can be treated. If you have one noisy device, box it inside a ventilated enclosure and feed it cool air from a quiet intake. Keep low-noise mini servers and compact switches near the workbench for easy access.
Use simple rack zoning: bottom for heavy, low-speed components; middle for primary servers; top for switches and passive kit. That keeps heat-driven fans from ramping up across the whole cabinet.
Regular Maintenance for Quiet Operation
Dust and dried lubricant are the usual suspects. Clean intake filters monthly if the device has them. Replace fan bearings when they show play or rumble. Re-apply a small amount of appropriate grease to non-sealed bearings when specified. Update firmware to get improved fan curves if the vendor provides them.
Record a maintenance log so you notice rising noise over weeks. Small changes tend to precede bigger failures.
Measure, don’t guess. Use a simple SPL app on a phone for quick checks, but verify results with a cheap handheld meter if you want repeatable numbers. Take baseline readings at typical operating loads and after changes. Log ambient and at-rack readings so you can compare before and after a modification.
Set alert thresholds for noise that correlate with thermal events. If a fan ramps loudly, you want to know whether it is reacting to heat or failing.
Future-Proofing Your Homelab Design
Design for capacity and silence. Leave space for larger, slower fans and extra ventilation. Choose PDUs and cable runs with spare capacity. Pick rack rails and cabinets that accept sound-attenuating doors or lined panels if you later need them.
When buying kit, prefer models with good service support and replaceable fans. That gives you a path to quieter operation without replacing the whole device.
Practical takeaways
- Pick a room with few thin partitions and easy power access.
- Treat leakage points first: door gaps and ducts.
- Choose SSDs, large low-rpm fans and temperature-controlled devices.
- Use rubber isolation and mass to stop structure-borne noise.
- Maintain fans and filters; measure noise before and after changes.
A quiet homelab is a set of small, sensible choices. Make them deliberately. The result is steady performance and a living space that does not sound like a server farm.