Overview of Home Assistant capabilities
I wanted a single place to see and control everything in my flat. Home Assistant delivers a self-hosted platform that speaks many protocols. It talks to Wi‑Fi bulbs, Zigbee sensors, Z‑Wave plugs, and cloud APIs. It gives local control where possible, so basic functions keep running if the internet fails. It also exposes a flexible automation engine and a dashboard I can tailor.
Home Assistant is software, not a brand of devices. That matters for ownership. You choose the hardware. You avoid vendor lock-in. You get integrations for mainstream IoT gear and many DIY sensors. The learning curve is real, but the payoff is reliable automations and a tidy smart home overview.
Integrating smart home devices
Integrations are usually plug and play. Some require pairing modes or a bridge. For example, Zigbee needs a coordinator USB stick. For cloud-only devices you log in via an integration and enter API keys. The integration list is vast, so check compatibility before buying.
I integrate lights, motion sensors, a thermostat, and a few smart plugs. Each device sits in Home Assistant as an entity. Entities have states and attributes. You use those in automations and dashboards.
Custom automation examples
A few automations I use:
- Motion turns on hallway lights at low brightness between sunset and midnight.
- If my phone disconnects from the home Wi‑Fi for 10 minutes, Home Assistant marks me as away and turns heating down.
- When a camera detects motion while I am away, Home Assistant sends a push alert and flashes all external lights.
Automations combine triggers, conditions and actions. You can write them in YAML or use the visual editor. I use the visual editor for most, and YAML for complex sequences.
Required hardware
You need a machine to host Home Assistant. Options:
- Raspberry Pi 4 or better for small installs.
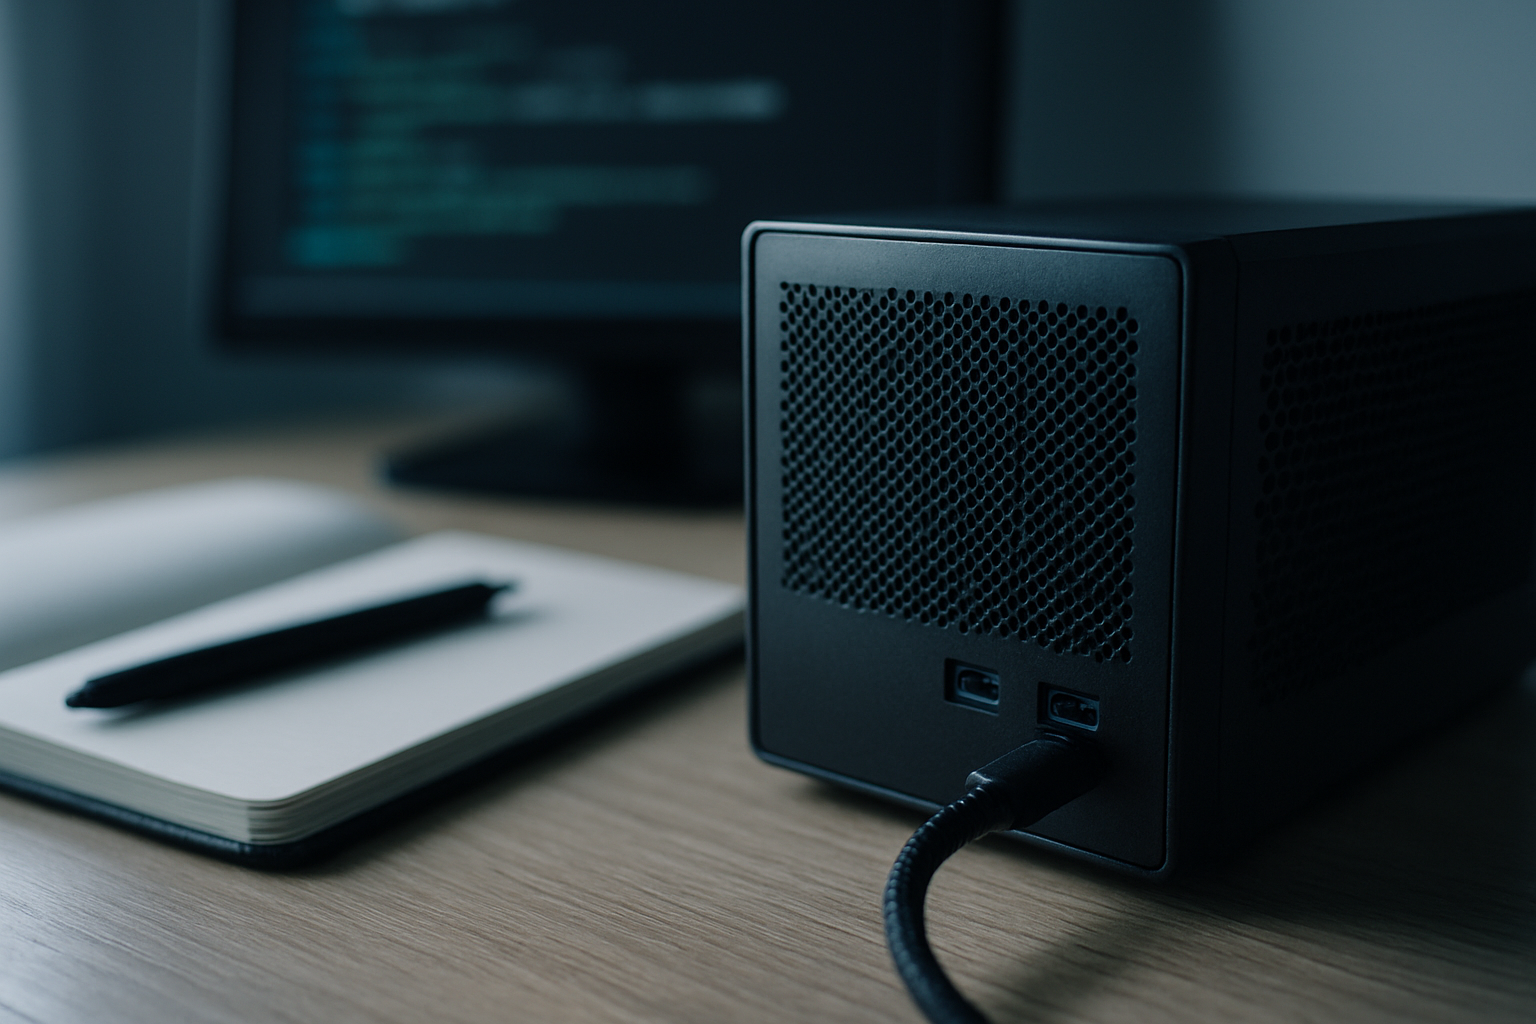
- Intel NUC or small server for heavier setups or many integrations.
- A Zigbee USB stick (ConBee II, Sonoff Zigbee 3.0) if you plan on Zigbee devices.
- Optional: Z‑Wave stick for Z‑Wave devices, USB storage for backups.
Pick hardware with reliable storage. SD cards are fine for quick tests, but I prefer SSDs for longevity.
Software requirements
Home Assistant runs in several flavours. The easiest is Home Assistant OS which bundles everything. You can also run Home Assistant Core in a Python venv, or use containers. I run Home Assistant OS in a virtual machine on my homelab to keep updates and add‑ons simple.
You will need a browser for the UI and a basic router that supports static DHCP leases or reserved IPs. For remote access, I recommend setting up secure remote access via a reverse proxy or the official remote service.
Basic knowledge needed
You do not need to be a developer. Basic Linux familiarity helps. You should be able to:
- Flash an image to an SD card or create a VM.
- SSH into a machine if things go wrong.
- Read logs and paste snippets when asking for help.
A willingness to read docs and experiment is the main requirement.
Step-by-step: Home Assistant
Installation process
- Download the Home Assistant OS image for your platform.
- Flash to SD or create a VM disk.
- Boot the device and wait for the initial setup. It can take 10–20 minutes.
- Create an account and set a local admin password.
- Reserve the device IP on your router or set a static DHCP lease.
If running in a VM, remember to passthrough the Zigbee USB stick.
Configuration steps
- Open the web UI and follow the onboarding wizard.
- Set your location, time zone and assign areas like kitchen or bedroom.
- Install any add‑ons you need: Samba for backups, MQTT broker if you use MQTT devices, and MariaDB if you want faster database performance.
- Configure integrations from the Integrations page. Authenticate cloud services where required.
Keep the configuration UI for most changes. Use YAML only when the UI cannot express the logic you need.
Adding devices to Home Assistant
- Put the device in pairing mode or link a bridge.
- On Integrations, choose the relevant integration and follow prompts.
- Name the device and assign it an area.
- Test the entity by toggling it in the UI.
If an integration creates many entities, tidy them with friendly names and disable unused entities.
Creating automations
I follow this pattern:
- Choose a clear trigger (motion, time, state change).
- Add conditions to limit false positives (time window, presence).
- Define actions (turn light, wait, notify).
- Test the automation manually.
Use the visual editor for basic automations. Use YAML for sequences, templating, or complex waits.
User interface customization
Dashboards are called Lovelace. I create views per area: downstairs, upstairs, security. Use cards for lights, cameras and sensors. A clean UI is simply useful. Prefer function over flash.
Verification: confirm it works
Testing device connectivity
Open the Entities page and verify each device reports a state. For sensors, check values update when you trigger them. For lights, toggle them from the UI and confirm the physical device responds.
Running automation tests
- Manually trigger an automation from the Automations page.
- Observe actions and logs. Each automation run creates a log entry.
- For presence or network triggers, simulate the condition by disconnecting a device or disabling Wi‑Fi briefly.
If an automation does not run, check triggers and conditions and view the automation trace.
Expected outcomes
- Devices respond within a second or two on a local network.
- Automations run when triggers occur and record traces in the UI.
- If internet fails, local device control and local automations still work for supported integrations.
If these outcomes happen, your Home Assistant setup is functioning as intended.
Troubleshooting
Common installation issues
Problem: Long initial setup or stuck on onboarding.
Fix: Reboot the host, check storage health, and verify network connectivity. For VMs, ensure USB devices are passed through correctly.
Problem: Integration not discovered.
Fix: Put the device in pairing mode and restart Home Assistant discovery. Check the device documentation for pairing quirks.
Device integration problems
Problem: Entities appear but show unavailable.
Fix: Check device power and network. For Zigbee, check coordinator range and interference. Re-pair if necessary.
Problem: Multiple duplicate entities.
Fix: Clean up unused entities, and migrate names. Use the entity registry to remove duplicates safely.
Automation failures
Problem: Automation triggers but actions do not run.
Fix: Inspect the automation trace for errors. Confirm service calls exist and entities referenced are correct. Verify any templates evaluate as expected.
Problem: False positives from motion sensors.
Fix: Add time or state conditions. Increase the sensor’s sensitivity settings where possible.
Wrap-up and next steps
Resources for further learning
Read the official Home Assistant docs and the community forums. Try example automations in the UI and check GitHub for community integrations if you need something niche.
Community support options
The Home Assistant community on forums and chat is active. Search before asking and include logs and configuration snippets when you post.
Future enhancements to consider
- Move the database to MariaDB for performance.
- Add Home Assistant Blue or NUC if you need more headroom.
- Explore Node‑RED for complex automation flows if YAML feels clumsy.
I chose Home Assistant because it gives ownership, flexibility and strong local control for my smart home and IoT kit. It demands a bit of hands on work, but that work pays back in reliable automations you actually trust.


